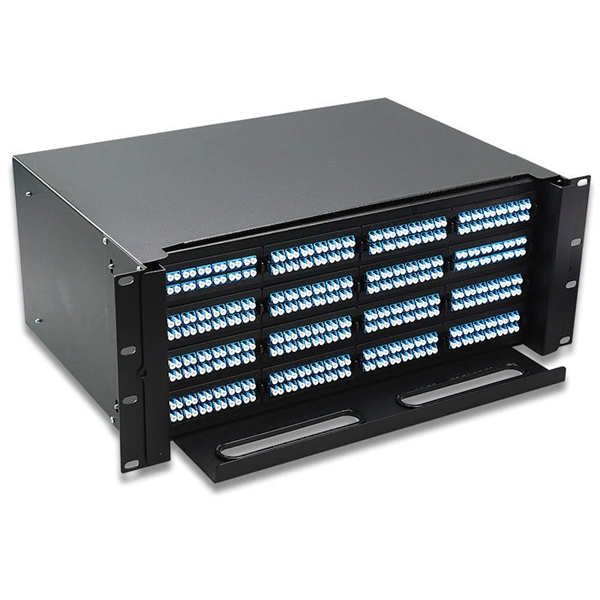
Installing a high-voltage distribution box requires careful planning, proper equipment, precise wiring, and thorough testing to ensure safety and compliance with electrical standards.Preparation and Site Selection
Before installation, select a safe, accessible, and well-ventilated location for the distribution box. Ensure the site is dry, away from flammable or corrosive materials, and allows sufficient space for maintenance and heat dissipation. For outdoor installations, choose a waterproof enclosure with appropriate IP or NEMA ratings (e.g., IP66 or NEMA 4) to protect against rain, dust, and sunlight exposure . Verify that the foundation or mounting surface is level, stable, and capable of supporting the box's weight .
Equipment Inspection
Unbox and inspect the distribution box to confirm it matches the specifications, including rated voltage, short-circuit breaking current, and number of circuits. Check for any transport damage and ensure all internal components, such as busbars, circuit breakers, terminal blocks, and wiring, are intact . Confirm compliance with local standards (e.g., IEC, NEC, or UL/CE certifications) before proceeding.
Installation Steps
- Mounting the Box: Align the box with expansion bolts or mounting points and secure it firmly. Ensure it is level and stable, without tilting or looseness .
- Wire Preparation: Strip insulation from wires to the correct length, avoiding excessive exposure that could cause short circuits or poor contact .
- Circuit Breaker Installation: Install independent breakers according to the load requirements, ensuring each circuit has proper protection .
- Terminal Connections: Connect phase wires to phase terminals, neutral to neutral, and ground to ground. Use a wire stripper or screw-tightening method to ensure secure, conductive connections .
- Wiring Arrangement: Neatly route wires inside the box, secure with cable ties, and leave space for heat dissipation. Avoid tangling or contact with sharp edges .
- Labeling: Clearly mark each circuit for future maintenance and troubleshooting .
Testing and Commissioning
- Insulation Resistance Test: Use a qualified insulation resistance tester to verify that insulation between wires and the box meets required standards .
- Circuit On/Off Test: Check each circuit with a multimeter to ensure proper operation and absence of short circuits .
- Final Inspection: Confirm all connections are tight, breakers are correctly installed, and the box is secure and compliant with safety regulations .
Safety Considerations
- Always de-energize the main power supply before installation.
- Use personal protective equipment (PPE), including insulated gloves and safety glasses.
- Follow local electrical codes and international standards for high-voltage installations.
- Schedule regular inspections and maintenance to ensure long-term reliability . By following these steps, a high-voltage distribution box can be installed safely, ensuring stable power distribution and minimizing the risk of electrical hazards.