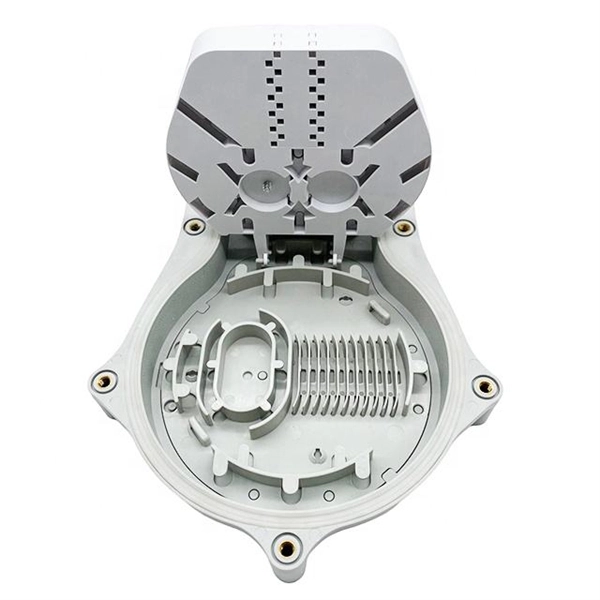
Wiring a distribution box involves connecting the main power supply to the main breaker, distributing power through branch breakers, ensuring proper grounding, and performing safety checks.Step 1: Preparation and Safety
Before starting, cut off the main power supply and verify with a tester that no electricity is present. Prepare all necessary tools such as screwdrivers, wire strippers, multimeter, and insulation resistance tester. Inspect the distribution box and accessories (terminal blocks, brackets, screws) to ensure they are undamaged, and select wires, ties, and insulating materials that meet electrical specifications .
Step 2: Mounting the Distribution Box
- Choose a dry, ventilated, and accessible location, away from flammable or corrosive substances.
- Mark the installation points, drill holes, and fix the box using expansion bolts.
- Ensure the box is level and stable; for outdoor installations, use a waterproof box with a rain cover .
Step 3: Connecting the Main Power Supply
- Connect the incoming phase and neutral wires to the main MCB (double-pole for single-phase systems).
- The main MCB distributes power to all branch circuits.
- For domestic single-phase systems, a 63A MCB is commonly used as the main switch .
Step 4: Wiring Branch Circuits
- Connect the output of the main MCB to the input of the RCCB (Residual Current Circuit Breaker) for protection against leakage and shock.
- Connect the output of the RCCB to the branch MCBs. Single-pole MCBs are typically used for individual loads, while double-pole MCBs may be used for special loads .
- Maintain wiring direction: main circuit wiring on the left, outgoing wiring on the right.
- Use plastic ties to bind wires neatly, keeping spacing uniform and wires straight .
Step 5: Grounding and Neutral Connections
- Connect the ground wire to the grounding bar and the neutral wire to the neutral bar.
- Ensure all connections are tight and secure to prevent loose contacts and overheating .
Step 6: Labeling and Marking
- Clearly mark AC/DC voltage levels, circuit numbers, and load types for easy identification and maintenance.
- Label each breaker according to the circuit it controls .
Step 7: Final Safety Checks
- Perform visual inspection and use a multimeter to check insulation, continuity, and correct connections.
- Verify that breakers and fuses match the rated current and that there are no short circuits or overloads .
- Ensure proper spacing for heat dissipation and that all components are securely mounted.
Step 8: Power On and Testing
- Once all checks are complete, switch on the main power and test each branch circuit for proper operation.
- Confirm that protective devices like RCCBs and MCBs function correctly under simulated fault conditions . Following this procedure ensures a safe, organized, and compliant distribution box installation, suitable for residential, commercial, or industrial applications.