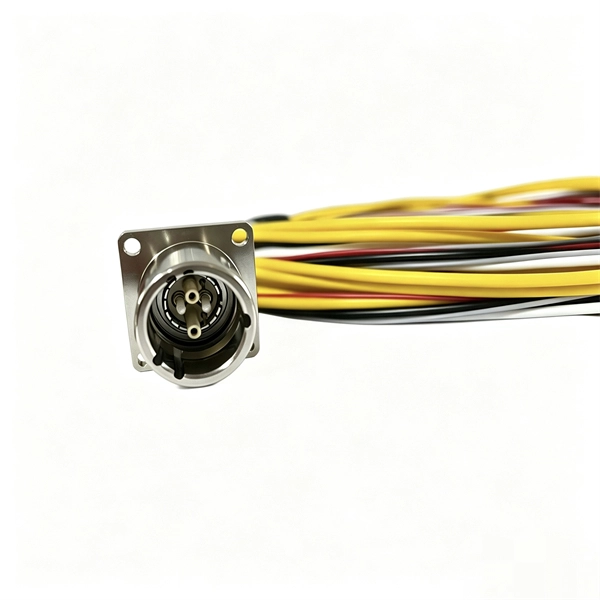
Assembling a household electrical distribution box involves selecting the right enclosure, installing circuit breakers, connecting incoming and outgoing wires, and ensuring proper grounding and safety compliance.Step 1: Choose the Right Distribution Box
Select a distribution box suitable for your home's electrical load and environment. Consider whether it will be installed indoors or outdoors, the number of circuits required, and the material (steel for durability or plastic for indoor use). Ensure the box has an appropriate IP or NEMA rating for protection against dust and moisture, and leave space for future expansion .
Step 2: Prepare the Installation Site
Install the box in a dry, accessible location at a recommended height of about 1.5 meters above the ground. Ensure it is away from water, flammable substances, and corrosive materials. Leave enough space around the box for ventilation and maintenance .
Step 3: Gather Tools and Materials
You will need:
- Screwdrivers and pliers
- Wire strippers
- Circuit breakers
- Grounding bar and neutral bar
- Electrical wires of appropriate gauge
- Multimeter for testing
- Insulation tape and cable markers
Step 4: Mount the Box
Secure the distribution box to the wall using screws or anchors. Ensure it is level and firmly fixed to prevent movement .
Step 5: Install Circuit Breakers
Insert the circuit breakers into the designated slots in the box. Each breaker should correspond to a specific circuit in your home. Make sure the breakers are compatible with the box and rated for the intended load .
Step 6: Connect Incoming Power
Turn off the main power supply before making any connections. Connect the incoming live wire (usually brown or red) to the main terminal, the neutral wire to the neutral bar, and the ground wire to the grounding bar .
Step 7: Wire Outgoing Circuits
Connect each outgoing circuit wire to its corresponding breaker. Ensure wires are properly stripped, inserted, and tightened. Label each wire for easy identification and future maintenance .
Step 8: Verify Connections
Use a multimeter to check for continuity, correct voltage, and absence of short circuits. Ensure all connections are secure and insulated to prevent electrical hazards .
Step 9: Final Checks and Safety
Before powering on, double-check that:
- All breakers are in the OFF position
- Wires are correctly connected and insulated
- The box is properly grounded
- Labels are clear for each circuit
Step 10: Power On and Test
Switch on the main power and test each circuit individually to ensure proper operation. Monitor for any unusual signs such as sparks, overheating, or tripped breakers . By following these steps, you can safely assemble a household electrical distribution box while ensuring compliance with safety standards and allowing for future upgrades.