RIVO OPTICALSPLICE CLOSURES Technical Inquiry

Wiring sequence of network patch panel

The wiring sequence behind a network patch panel follows either the T568A or T568B standard, with each wire color assigned to a specific pin for consistent Ethernet connectivity.Understanding Patch Panel Wiring

A patch panel serves as a central termination point for all Ethernet cables in a network. The back of the panel contains 110-style insulation displacement contacts (IDCs) where individual wires from the Ethernet cable are punched down. Proper wiring ensures reliable data transmission and simplifies network management ( ).

T568A and T568B Wiring Standards

The two most common wiring standards are T568A and T568B. Both define the order of the eight wires in a twisted-pair Ethernet cable:

  • T568A sequence (pins 1–8): 1 – White/Green 2 – Green 3 – White/Orange 4 – Blue 5 – White/Blue 6 – Orange 7 – White/Brown 8 – Brown
  • T568B sequence (pins 1–8): 1 – White/Orange 2 – Orange 3 – White/Green 4 – Blue 5 – White/Blue 6 – Green 7 – White/Brown 8 – Brown ( ) The choice between T568A and T568B depends on existing infrastructure or personal preference, but both are widely accepted.
Step-by-Step Wiring Process
  1. Prepare the Cable: Strip 2–3 inches of the outer jacket to expose the four twisted pairs. Untwist each pair carefully ( ).
  2. Arrange Wires: Align the wires according to the chosen standard (T568A or T568B).
  3. Insert Wires into IDC Slots: Place each wire into its corresponding slot on the back of the patch panel. Ensure the wires are fully seated.
  4. Punch Down Wires: Use a punch-down tool to press the wires into the IDC slots. The tool cuts off excess wire automatically if used correctly ( ).
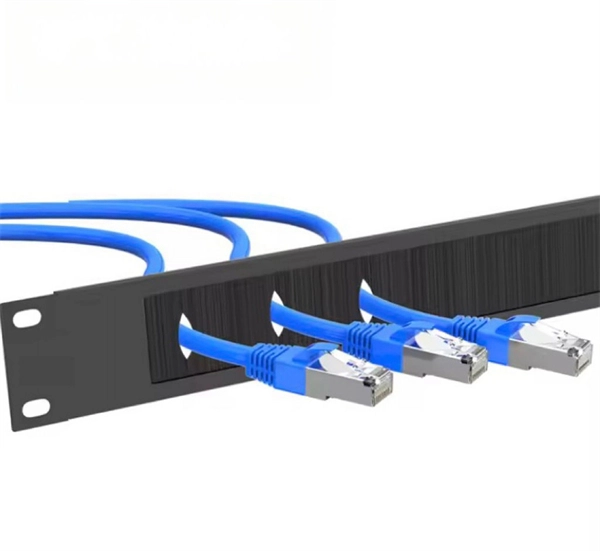
  5. Cable Management: Secure cables with cable managers or zip ties to prevent strain and maintain organization ( ).
  6. Label and Test: Label each port for easy identification and test connectivity with a network tester to verify proper termination ( ).
Additional Tips
  • Check Panel Markings: Different patch panel brands may have specific color-coded markings; always follow the panel's guide ( ).
  • Tool-Free Panels: Some modern panels allow tool-free termination using built-in clips, simplifying installation ( ).
  • Maintain Twists: Keep the wire twists as close as possible to the IDC to minimize crosstalk and signal loss. Following these steps ensures a reliable, organized, and standards-compliant network setup, making future troubleshooting and network expansion easier.
Wiring sequence of network patch panel

Patch Panel Installation: A Commercial Installer''s Step-by-Step Guide

Install in this order: mount the panel, route and dress the cable, strip, punch down to T568B, test, label, then patch to

Patch Panel Wiring Guide: How to Punch Down and Wire It Right

Follow this patch panel wiring guide to strip, punch down, label, and test cable runs correctly—avoiding split pairs and

The Ultimate Guide to Cat5e Patch Cable Wiring Diagrams

Learn how to wire a Cat5e patch cable with a detailed diagram. Understand the color codes and connections to create a reliable

Patch panel wiring walkthrough. : r/HomeNetworking

make sure you have identified every cable you are using, so that you can patch them in a logical order, saves you a lot of confusion

Network Cable Management | Network Patch Panel Explained | Full Wiring

Whether you''re setting up a home lab, office network, or a data center, organizing your Ethernet cables with a patch

Mastering Patch Panel Cable Management for Optimal Network

Leverage precise patch panel diligent management strategies because it could result in efficient network performance.

Patch Panel Installation: A Commercial Installer''s Step-by-Step Guide

A patch panel installation terminates your permanent cable runs onto a rack-mounted panel, then connects the panel''s

Related Video Reference

This video was associated with the source search result. Verify technical details against current product documentation and project requirements.

Technical note

This reference is intended for preliminary fiber optic splice closure research. Compatibility, splice capacity, sealing class, tray layout, protection sleeves, installation methods, test limits and applicable standards must be verified for the specific project.

Still Have a Technical Question?

Use the inquiry form to describe a closure requirement, splice capacity or cable jointing question.

Start an Inquiry